How to set up PrivateProxy with ixBrowser
What is PrivateProxy’╝¤
PrivateProxy is a provider of high-performing residential proxies with over a decade of experience in the industry. All of the residential IPs provided by this company are hand-tested and ready to be deployed right after purchase.
The use cases for residential proxies from PrivateProxy include but are not limited to all sorts of web scraping of marketplaces and search engines. They are also perfect for missions involving lead generation, coupon aggregators, local SEO and botting. The account managers of the provider are ready 24/7 to assist you in picking just the right set of proxies from the pool that will match your online mission’s requirements.
Geographically the IPs of PrivateProxy cover most frequently demanded regions of Americas, Europe and Asia. The company also guarantees the maximum network uptime on all of its residential IPs.
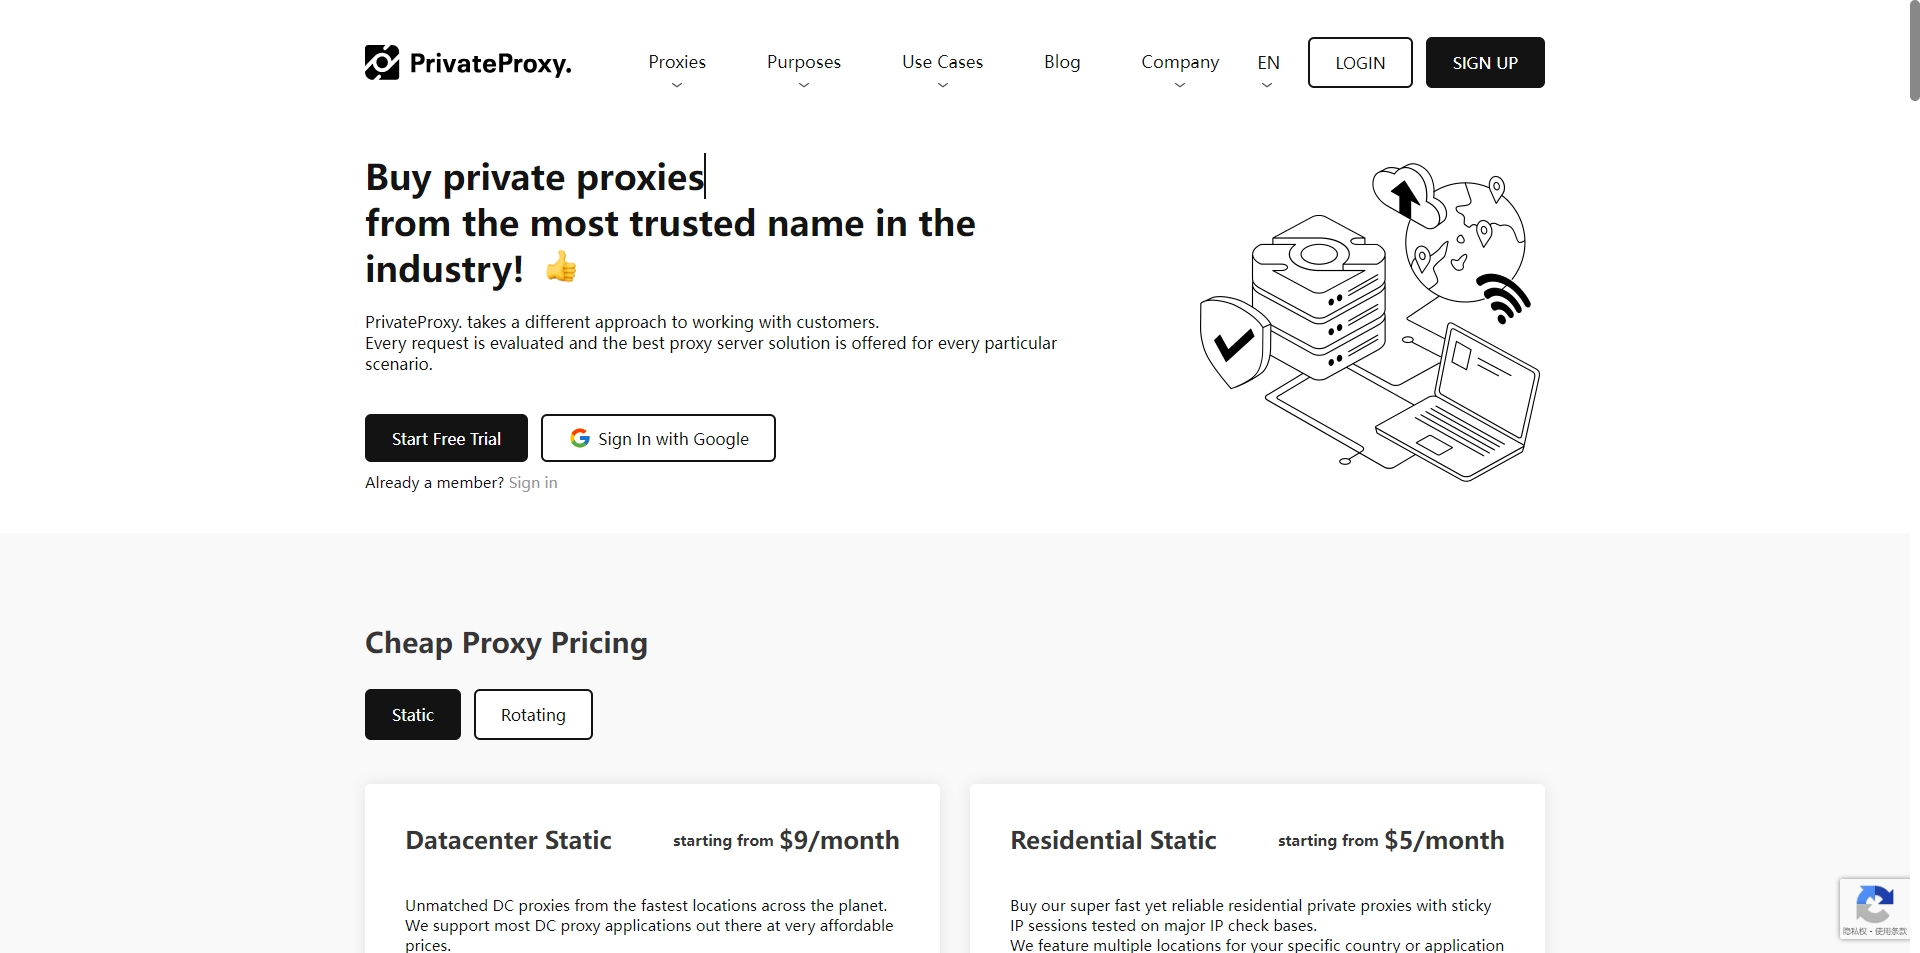
Fast and Affordable Proxies
You can start by ordering a residential IP from PrivateProxy for as low as $5 a month. You will have unmetered bandwidth on this account and unlimited connections. Once you decide to order a set of IPs, your price for a proxy will go down. So, for instance, for $400 you can get a set of 100 residential proxies for multiple locations.
How to setup PrivateProxy with ixBrowser?
Step 1: register an account, download and log in to ixBrowser;

Step 2: click “Create Profile”, select platform and group, enter profile title, and click “Next Step”;

Step 3: before we configure the proxy, we need to first go to PrivateProxy dashboard to get proxy info;
In the dashboard, first go to My Proxies, and click Buy proxies;

Follow the guidance to choose the category, package, purpose, country, and subscribe it;

When payment is done, you can see your package in the My Proxies list;

Click Get proxy list, and find the proxies’ information here;


Step 4: now, go back to ixBrowser, in Proxy Configuration page, choose the proxy method to “Custom”, and choose proxy type to Socks5

Copy the proxy credentials from PrivateProxy, and paste it into ixBrowser;

Click proxy detection, once is passed, you can click “Create” button to finish the profile creation (if you want to modify the fingerprint, you can go to Fingerprint Configuration page and make modification);

Step 5: in proxy list, find the profile you just created, click “Open” button, and you can start using it!

PrivateProxy is a provider of high-performing residential proxies with over a decade of experience in the industry. All of the residential IPs provided by this company are hand-tested and ready to be deployed right after purchase.
The use cases for residential proxies from PrivateProxy include but are not limited to all sorts of web scraping of marketplaces and search engines. They are also perfect for missions involving lead generation, coupon aggregators, local SEO and botting. The account managers of the provider are ready 24/7 to assist you in picking just the right set of proxies from the pool that will match your online mission’s requirements.
Geographically the IPs of PrivateProxy cover most frequently demanded regions of Americas, Europe and Asia. The company also guarantees the maximum network uptime on all of its residential IPs.
Fast and Affordable Proxies
You can start by ordering a residential IP from PrivateProxy for as low as $5 a month. You will have unmetered bandwidth on this account and unlimited connections. Once you decide to order a set of IPs, your price for a proxy will go down. So, for instance, for $400 you can get a set of 100 residential proxies for multiple locations.
How to setup PrivateProxy with ixBrowser?
Step 1: register an account, download and log in to ixBrowser;
Step 2: click “Create Profile”, select platform and group, enter profile title, and click “Next Step”;
Step 3: before we configure the proxy, we need to first go to PrivateProxy dashboard to get proxy info;
In the dashboard, first go to My Proxies, and click Buy proxies;
Follow the guidance to choose the category, package, purpose, country, and subscribe it;
When payment is done, you can see your package in the My Proxies list;
Click Get proxy list, and find the proxies’ information here;
Step 4: now, go back to ixBrowser, in Proxy Configuration page, choose the proxy method to “Custom”, and choose proxy type to Socks5
Copy the proxy credentials from PrivateProxy, and paste it into ixBrowser;
Click proxy detection, once is passed, you can click “Create” button to finish the profile creation (if you want to modify the fingerprint, you can go to Fingerprint Configuration page and make modification);
Step 5: in proxy list, find the profile you just created, click “Open” button, and you can start using it!